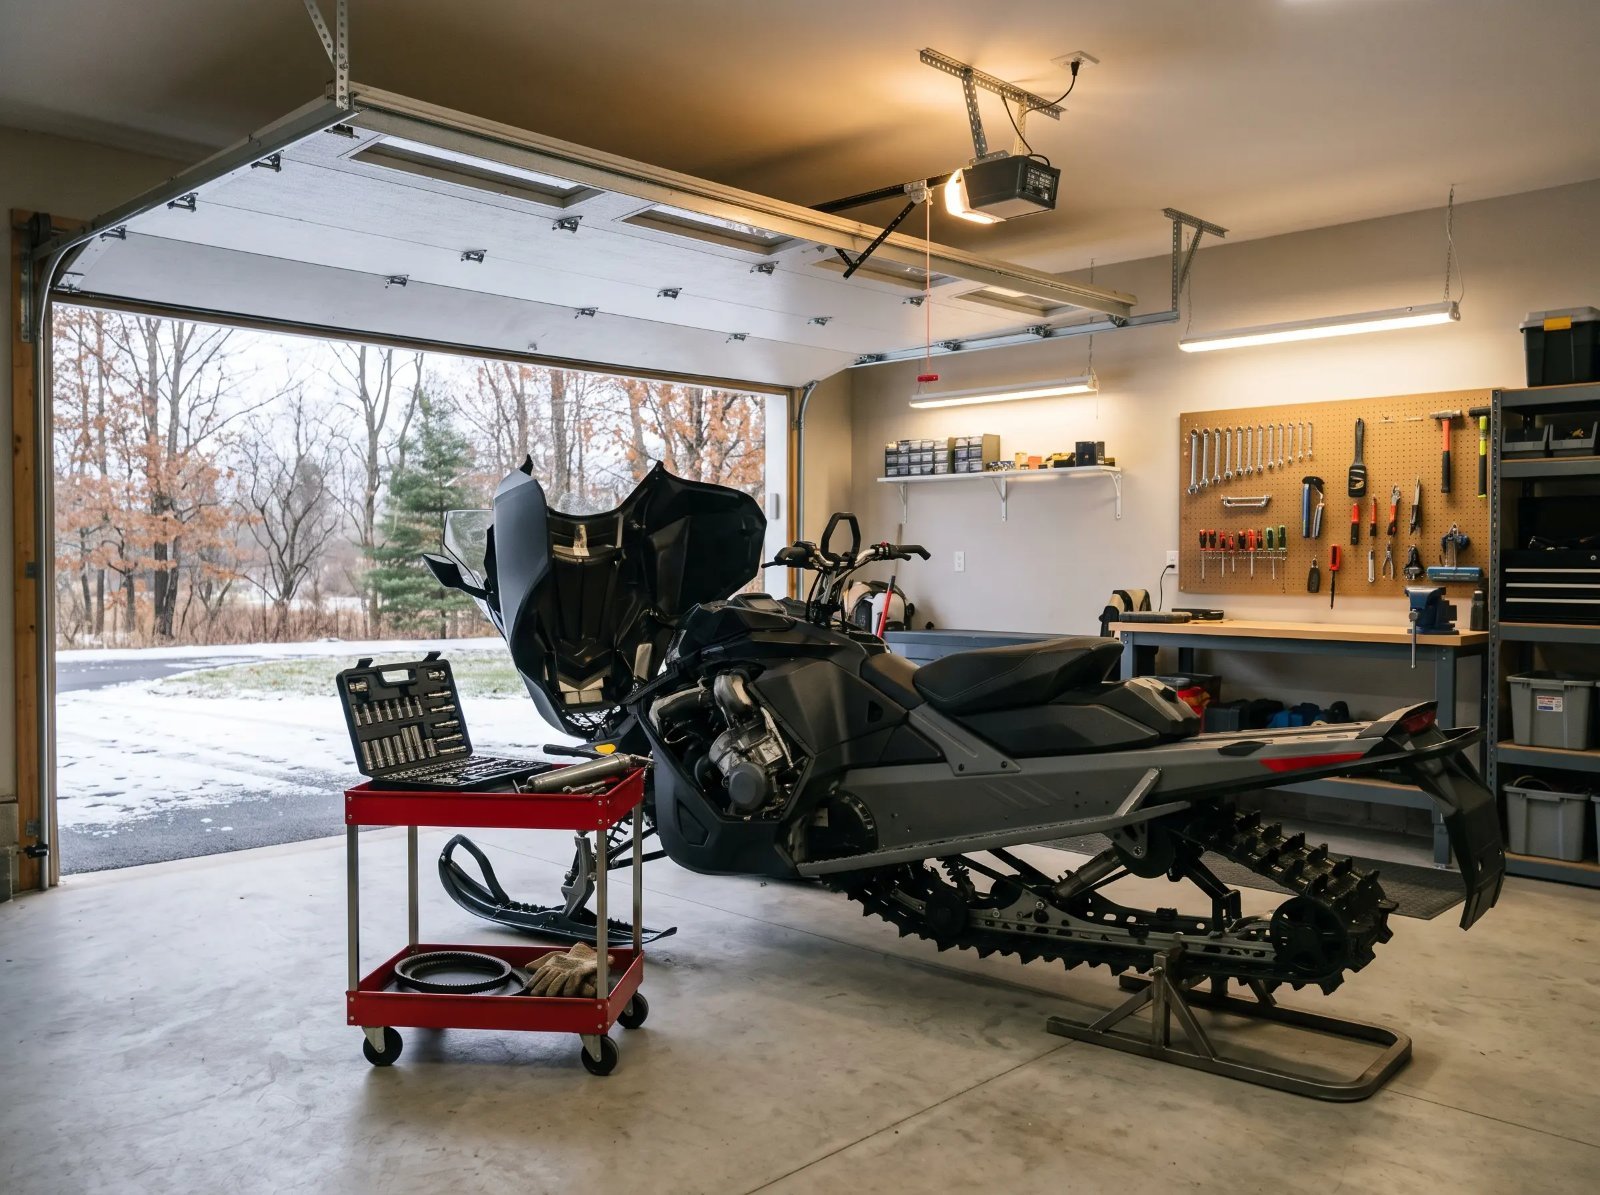
Every November, snowmobile dealers across Canada hit the same wall. The phones start ringing the week the first real snow lands, and suddenly the service department is booked into December. Most of those calls are for problems that an owner could have caught in an afternoon in October.
You don't need a shop or special tools for most of this. You need a free Saturday, a few basic supplies, and a bit of patience. Do it now while the garage is still comfortable to work in, and your first ride of the season will be a ride, not a repair.
Step 1: Undo Your Storage Prep First
Start by reversing whatever you did last spring. It sounds obvious, but forgotten storage steps cause a surprising number of no-start calls.
- Pull the exhaust and intake plugs. If you stuffed steel wool or rags in there to keep mice out, take them out now, before you go anywhere near the key.
- Check for nests anyway. Look in the airbox, under the hood, and around the wiring harness. Mice love a sled that sits all summer, and chewed wires are much cheaper to find in October than on the trail.
- Remove any fogging residue. If you fogged the engine, the spark plugs are probably oily. Pull them, then either clean them or, better, replace them. Plugs are cheap and a fresh set takes most of the drama out of a first start.
Step 2: Fuel and Oil
If you stored the sled with a full tank of stabilized fuel, you're in good shape. If you didn't, or you're not sure, assume the fuel has gone off. Old gas loses its punch, leaves varnish behind, and is the most common reason a sled runs rough after summer. Drain it and start fresh.
Two-stroke sleds: top up the oil reservoir with the injection oil your manufacturer specifies. If the tank was run dry at any point, read the owner's manual about bleeding the oil pump. Air in the oil lines can starve the engine, and a two-stroke without oil doesn't last long.
Four-stroke sleds: if you didn't change the oil and filter before storage, do it now. Old oil carries acids and moisture that you don't want circulating through a fresh season.
While you're at it, check the chaincase oil level, and change it if it's dark or if it's been a full season. It's one of the most neglected fluids on a sled and one of the cheapest to look after.
Step 3: Drive Belt and Clutches
This is where a lot of trail breakdowns start.
Inspect the belt. Take it off and look closely. Glazing (a shiny, hardened surface), cracks across the cogs, missing chunks, or a belt that has worn noticeably narrower than spec are all signs it's time for a new one. A belt that let go once already this year rarely improves with age.
Clean the clutches. Belt dust builds up on the sheaves and affects how the clutch engages and shifts. Wipe the sheave faces clean with a clutch cleaner or brake cleaner and a lint-free rag. Do not lubricate the sheave faces. Anything slippery on those surfaces is the opposite of what you want.
Check for wear. Look for grooves in the sheaves, worn rollers or buttons, and anything that moves when it shouldn't. If the clutches feel rough or make noise, that's a job for a shop that has the tools to do it properly.
And put a spare belt on the sled, in the holder, with the tools to change it. Every experienced rider has a story about the day they didn't.
Step 4: Track, Sliders and Suspension
Track condition. Lift the back of the sled safely and turn the track by hand. Look for torn or missing lugs, damaged or missing clips, and any exposed or broken rods. A damaged track can fail suddenly and badly at speed.
Track tension and alignment. Too loose and the track can ratchet or come off. Too tight and you lose power and wear out the sliders and bearings. Your owner's manual gives the measurement and the method. Check alignment at the same time so the track runs centred on the rails.
Hyfax sliders. These are the plastic wear strips on the rails that the track rides on. Every manual lists a minimum thickness. Worn sliders can let the track damage the rails, and they wear much faster on thin or icy trails.
Suspension. Grease every fitting on the front and rear suspension until fresh grease pushes out. Look over the shocks for oil leaks or bent shafts, and check that nothing is loose or cracked. Look at the idler wheels too. A seized idler wheel can destroy a track in a few kilometres.
Step 5: Skis, Carbides and Steering
The carbides (also called wear bars or runners) under your skis are what let the sled steer on hardpacked snow and ice. Worn carbides make the sled wander and push in corners. Check them for wear and replace them if the carbide insert is worn down or missing. Always replace them in pairs.
While you're under the front, check the skis for cracks, the spindles and steering linkage for play, and make sure all the steering bolts are tight. Turn the handlebars lock to lock and feel for any binding or roughness.
Step 6: Cooling, Battery and Brakes
Coolant. Check the level and condition. Liquid-cooled sleds depend on the coolant and on snow hitting the heat exchangers to stay cool, which leads to one important tip: don't run a sled for long on dry ground or in the garage. A short warm-up is fine. Ten minutes of idling with no snow can overheat it.
Battery. If your sled has one, charge it fully and check the terminals. If it struggled last spring, replace it now rather than at the trailhead.
Brakes. Check the pad thickness and the brake fluid level and colour. Dark fluid has absorbed moisture and should be replaced. Squeeze the lever and make sure it feels firm, not spongy.
Step 7: Safety Checks That Can't Be Skipped
These are quick, and they're the ones that matter most.
- Throttle return. Squeeze the throttle and let go. It should snap back fully every time, without hesitation. A sticking throttle is one of the most dangerous faults a sled can have. Do not ride until it's fixed.
- Kill switch and tether. Test both. They should shut the engine off instantly.
- Lights. Headlight (high and low), tail light and brake light. Early darkness and blowing snow make visibility critical.
- Heated grips and thumb warmer. Not technically safety items, but cold hands make for bad decisions.
Step 8: Pack Your Trail Kit
A breakdown five kilometres from the truck is an inconvenience. The same breakdown fifty kilometres out, at minus twenty-five, after dark, is a genuine emergency. Pack accordingly.
- Spare drive belt and the tool to change it
- Spare spark plugs and a plug wrench
- Basic tool kit, tape and zip ties
- Tow strap
- First aid kit and an emergency blanket
- Headlamp and a fire starter
- Ice picks worn around your neck if you ever cross lakes or rivers
- A charged phone, plus a satellite messenger if you ride where there's no signal
Step 9: Paperwork Before Pavement
Before you ride, make sure your registration is current, your insurance is active, and you have the trail permit required in your province. Most riders who get a ticket on opening weekend weren't trying to cheat. They just forgot. If you need to sort coverage, you can get an insurance quote in a few minutes.
Rules also change from province to province, including permits, helmet rules and where you're allowed to ride. If you're planning a trip this winter, read our guide to how the rules change between provinces before you load the trailer.
Step 10: Take It Easy on the First Ride
Even a perfectly prepared sled deserves a gentle first outing. Ride a short, familiar loop close to home. Listen for new noises, watch the temperature, and feel how the clutches engage. Early-season trails are often thin, with rocks, stumps and wet spots hiding under a light covering of snow, so keep your speed down until there's a proper base.
After the ride, recheck track tension, since a new or freshly adjusted track often stretches a little at first.
When to Call a Shop
Most of this list is well within reach for an owner. But hand it over to a professional if you find clutch wear, a damaged track, suspension leaks, a sticking throttle you can't fix, or any electrical issue you can't trace. A pre-season service at a dealer is also a good idea for an older sled or one you've just bought used.
Thinking of buying one? Our pre-purchase checklist covers what to look at, and a pre-buy inspection can catch what you can't see in photos.
Quick Pre-Season Checklist
- Remove exhaust and intake plugs, check for mouse nests
- New spark plugs
- Fresh fuel, oil reservoir topped up
- Four-stroke oil and filter changed
- Chaincase oil checked
- Belt inspected, spare packed
- Clutches cleaned (no lube on the sheaves)
- Track condition, tension and alignment
- Hyfax sliders and idler wheels checked
- Suspension greased, shocks inspected
- Carbides and steering checked
- Coolant, battery and brakes
- Throttle snaps back, kill switch and tether work
- Lights working
- Trail kit packed
- Registration, insurance and trail permit current
The Bottom Line
A few hours in October saves you a lost weekend in December and possibly a long walk out of the bush. Work through the list in order, fix what you find, and get help for the jobs that need it. Then you can watch the forecast with excitement instead of dread.
Need parts for the job? Browse parts and accessories, including tracks and skis. Looking for a new or used sled? Check out new vehicles, browse used listings, or list your current machine free. And when the snow arrives, use the Trail Finder to plan where to ride.
Related Reading
- How to Winterize an ATV or UTV for a Canadian Winter
- ATV and Snowmobile Rules Change the Moment You Cross a Provincial Border
- Buying a Used ATV or Side-by-Side in Canada: The Complete Pre-Purchase Checklist
Always follow the maintenance schedule, specifications and procedures in your snowmobile's owner's manual. Requirements vary by make, model and engine type.