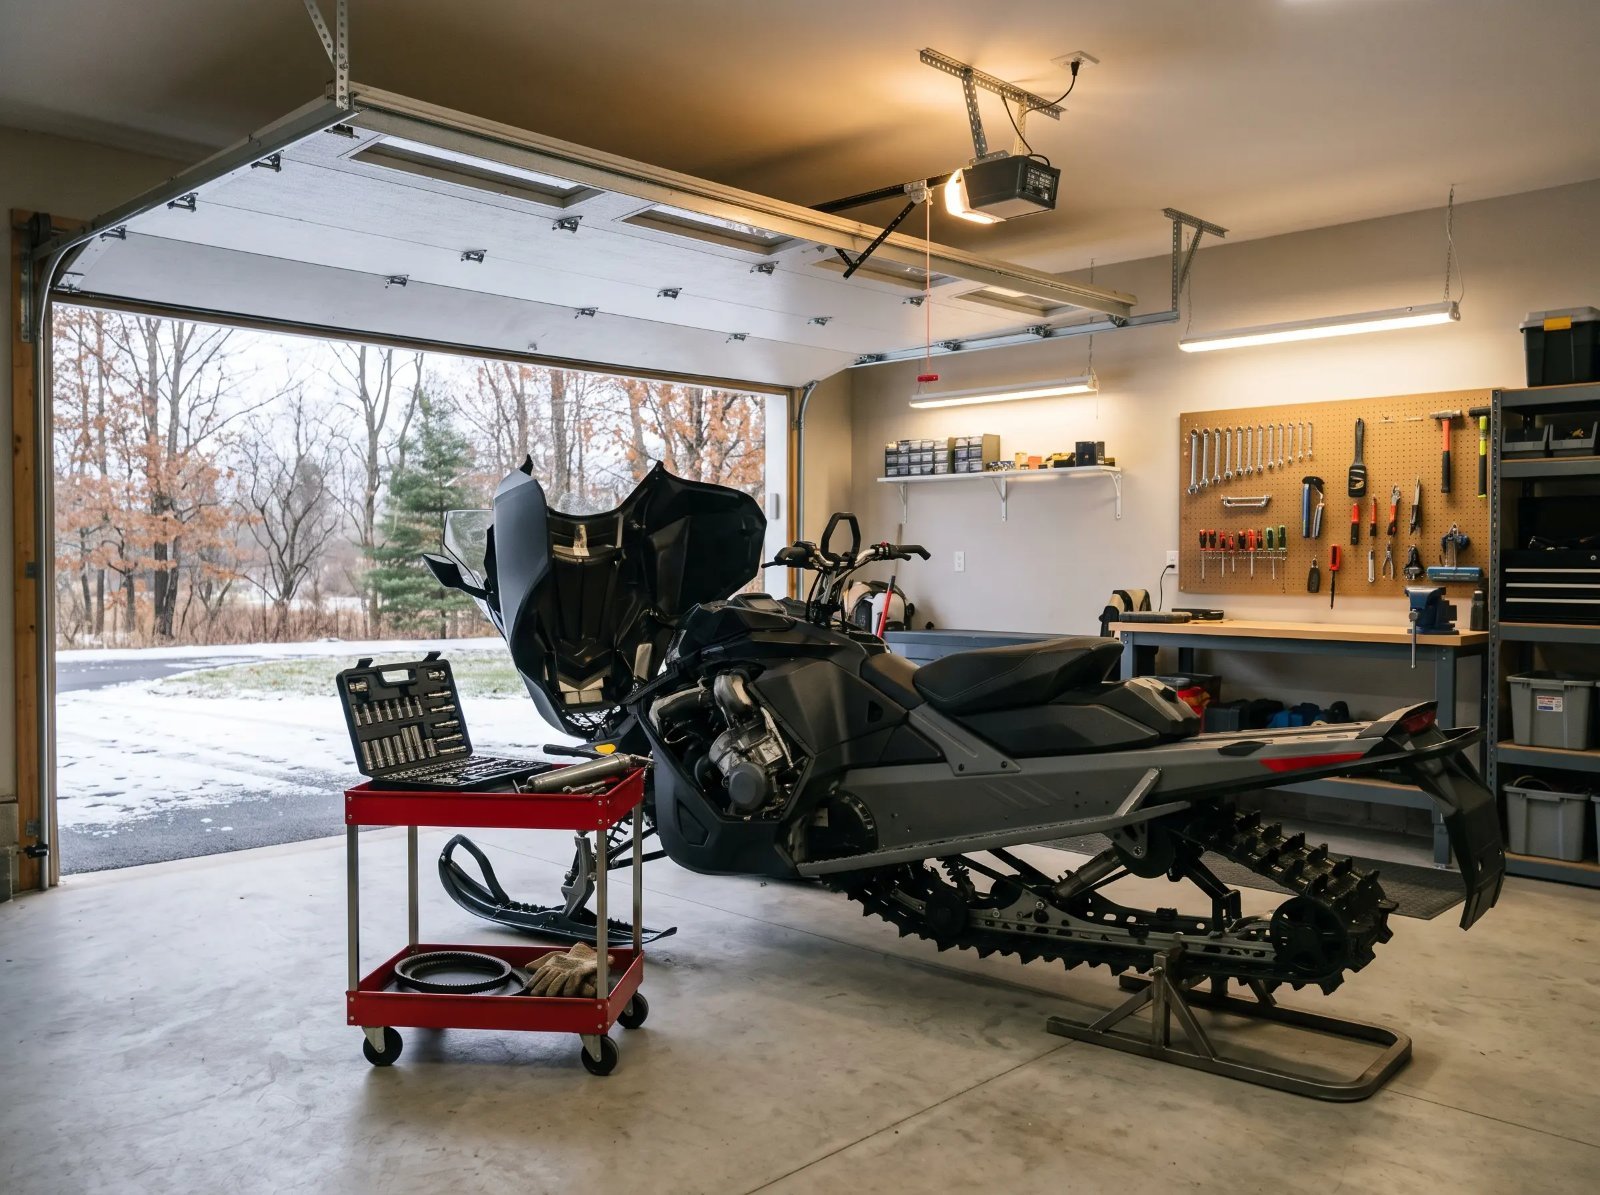
The Quick Answer
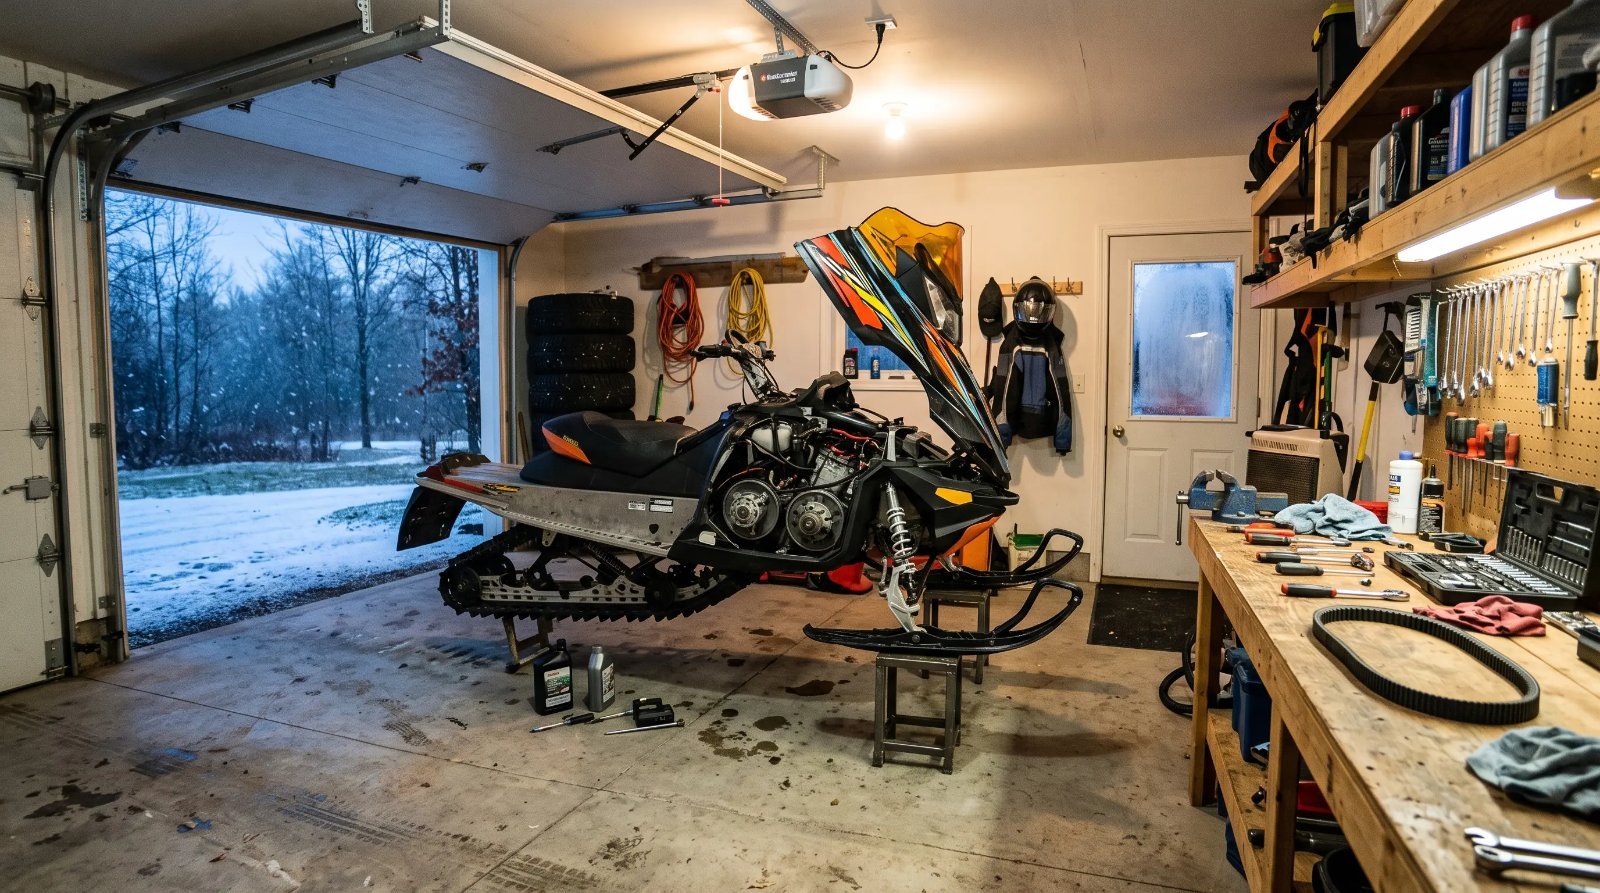
A proper pre-season check takes two to four hours in the garage and covers twelve areas: controls, steering, starter rope and tether, battery, drive belt, oil, chaincase, rear suspension, track, skis and carbides, lights, and leaks. Do it now, not the night before your first ride. Parts like slide rails (hyfax), carbides and belts get scarce at dealers once the snow flies, and service departments book up fast in November.
Permit deadline this month: In Quebec, the FCMQ's early annual trail permit for 2026-27 costs $440 until October 31. From November 1 to December 15 it goes up to $465, and after December 15 it is $575. In Ontario, the OFSC has kept 2027 trail permit fees at last season's level, and permits have been on sale since October 1. Read our guide to why buying your permit early saves money.What You Need
You do not need a full shop. For most of this checklist you need:
- Your operator's guide (it has the exact specs for your sled)
- A battery charger or tender
- A grease gun with low temperature grease
- A tape measure and a straight edge
- A track stand or a way to safely lift the rear of the sled
- The correct engine oil and chaincase oil for your machine
- A flashlight and rags
The Complete Pre-Season Checklist
1. Throttle, brake and stop switch
Squeeze and release the throttle. It should move smoothly and snap back to idle on its own. A sticky throttle is one of the most dangerous faults a sled can have, so do not ride until it is fixed. Pull the brake lever: it should feel firm, not spongy, and it should not travel all the way to the handlebar. Check the brake fluid level and the pads. Finally, confirm the engine stop switch and tether both kill the engine.
2. Steering and handlebars
Turn the bars fully left and right. They should move freely without binding. Check for play in the grips, throttle block and brake lever mount, and look at the steering linkage for loose bolts or worn tie rod ends.
3. Starter rope and tether
Even if your sled has electric start, the rope is your backup in the cold. With the stop switch down and the tether removed, pull the rope all the way out and check its full length for fraying. Replace it if it is worn, and make sure the knot at the handle is secure.
4. Battery
Charge the battery fully, then check that it holds the charge for a day or two. A battery that loses charge quickly in October will leave you stranded in January. Clean and tighten the terminals.
5. Drive belt
Remove the belt and inspect both sides. Replace it if you see any of these:
- Cracks or layers separating
- Damaged or exposed edge cords
- Glazed, shiny sides (a sign of slipping and heat)
- A belt that has worn noticeably narrower than a new one
When you reinstall it, set the deflection and the belt height in the secondary clutch to the spec in your operator's guide. Always carry a spare belt and the tool to change it on the trail.
6. Engine oil
On a two-stroke with oil injection, check the oil reservoir and top it up with the oil your manufacturer recommends. On a four-stroke, change the engine oil and filter once a year. If you did not do it before storage, do it now, before the first ride.
7. Chaincase oil and chain tension
If you did not change the chaincase oil before storage, change it now. Check the chain tension while you are there. A loose chain can jump teeth and damage the case.
8. Rear suspension
Lift the back of the sled and work through the skid:
- Idler wheels: Spin each by hand. They should turn freely and quietly with no chunks missing. A seized idler wheel can destroy a slide rail in one ride.
- Slide rails (hyfax): Replace them if they are worn past the wear indicator line.
- Ice scratchers: Check that they drop to the ground under tension and are not bent or worn.
- Grease points: Grease every fitting with a low temperature grease until fresh grease appears.
- Shocks: Look for oil leaks and damaged seals.
9. Track
Rotate the track by hand and inspect its full length for rips, tears, holes, missing lugs and damaged or missing studs. Then check the tension and alignment against your operator's guide. A track that is too loose can ratchet and damage the drive; too tight, and it robs power and wears out slides and bearings faster.
10. Skis and carbides
The ski bottoms should be smooth, with no cracks or bends. Replace runners that are worn or have pieces of carbide missing. Worn carbides make a sled push straight in corners on hard trails. Ski-Doo recommends setting ski toe-out at 1/8 to 1/4 inch, meaning the front of the skis is slightly wider apart than the back. Check your own manufacturer's spec.
11. Lights
Start the engine and check the headlight on low and high beam, the taillight and the brake light. With winter daylight ending before 5 p.m. in much of Canada, a working headlight is essential.
12. Leaks and exhaust
Look under the hood and under the sled for oil, coolant and brake fluid leaks. On liquid-cooled sleds, check the coolant level and the hoses. Make sure the exhaust outlet is free of mouse nests or debris, which is very common after summer storage.
Quick Reference: Replace or Keep?
| Part | Keep If | Replace If |
|---|---|---|
| Drive belt | Sides flat, no cracks, width close to new | Glazed, cracked, frayed edge cords or worn narrow |
| Slide rails (hyfax) | Above the wear indicator line | At or past the wear line, or melted and chipped |
| Carbides | Carbide intact along the full length | Chipped, missing pieces or worn flat |
| Idler wheels | Spin freely and quietly, no chunks | Grinding, wobble, cracks or missing rubber |
| Track | No tears or missing lugs | Tears through the belting, exposed rods or several missing lugs |
| Starter rope | No fraying | Any fraying or a weak knot |
| Battery | Holds a full charge for several days | Loses charge within a day or two |
Fuel: The Most Common Pre-Season Problem
If your sled sat all summer with untreated fuel in the tank, that fuel may have gone stale, which leads to hard starting, rough running and gummed-up carburetors or injectors. If you added a stabilizer and filled the tank before storage, as we recommend in our snowmobile storage guide, you should be fine. If you did not, or the fuel smells sour or looks dark, drain it and start with fresh premium fuel of the octane your manufacturer specifies.
Build Your Trail Kit
A pre-season check is also the time to restock what lives under your seat:
- A spare drive belt and the tool to change it
- Spare spark plugs and a plug wrench
- A tow strap
- A basic tool kit and tape
- A headlamp with fresh batteries
- A small first aid kit
- Fire starter, an emergency blanket and a snack
- A fully charged phone, and a satellite messenger for remote trails
DIY or Dealer?
Most of this checklist is DIY work for anyone with basic tools. Book the dealer if you find a sticky throttle you cannot fix, spongy brakes, a leaking shock, worn bearings in the drive or skid, clutch problems, or a two-stroke that is hard to start or has low compression. If your sled is still under warranty, check what servicing the warranty requires before doing major work yourself.
Buying a Used Sled This Fall?
Use this same checklist when you inspect a used snowmobile. Worn slides, a glazed belt, bent skis or a seized idler wheel are all bargaining points, or reasons to walk away. Ask for service records, check the VIN for liens, and if you are not confident, book an independent pre-purchase inspection. Browse used snowmobiles for sale across Canada, get an insurance quote before you buy, and read our winter 2026-27 snowmobiler's guide for what else is new this season.
Frequently Asked Questions
How do I get my snowmobile ready for winter?
Check the throttle, brakes and stop switch; charge the battery; inspect the drive belt; change or top up the engine and chaincase oil; check the idler wheels, slide rails and grease points in the rear suspension; inspect the track and set its tension; check skis and carbides; test all lights; and look for leaks. Use fresh fuel if the sled was stored without stabilizer.
How do I know if my snowmobile belt needs replacing?
Replace the drive belt if it has cracks, separating layers, frayed or exposed edge cords, glazed shiny sides, or has worn noticeably narrower than a new belt. Always carry a spare belt on the trail.
When should I replace snowmobile slide rails (hyfax)?
Replace slide rails when they are worn down to or past the wear indicator line, or if they are melted, chipped or cracked. Check the idler wheels at the same time, because a seized idler wheel can wear out a slide rail very quickly.
What should snowmobile ski toe-out be?
Ski-Doo recommends a ski toe-out of 1/8 to 1/4 inch, with the front of the skis slightly wider apart than the back. Check your own manufacturer's specification in the operator's guide.
How much is a Quebec snowmobile trail permit for 2026-27?
The FCMQ annual trail permit costs $440 when bought between October 1 and 31, 2026, $465 from November 1 to December 15, and $575 after December 15. Shorter permits are also available, from $90 for one day to $300 for seven consecutive days.
Did Ontario snowmobile trail permit prices go up for 2027?
No. The OFSC has announced that 2027 Ontario snowmobile trail permit fees are unchanged from last season. Permits went on sale October 1, 2026 and can be bought online through the OFSC.
This checklist is general guidance. Always follow the specifications and service intervals in your snowmobile's operator's guide, and have a qualified technician handle any repair you are not confident doing yourself. Permit prices are as published by the FCMQ and OFSC and may change.